Philodendrons are low-maintenance, fast-growing houseplants loved for their foliage. The genus contains over 400 species that come in a wide array of shapes and colors, so the chances to find one that matches your aesthetics are quite high. When it comes to their growth habit, Philodendron can be extremely versatile. Some species can be grown as trailing or climbing plants, while some grow upright, tree-like.
In this article, we’ll discuss the easiest way to propagate your philodendron. No matter their growth habit, these houseplants are easy to multiply, so let’s get to it!
Table of Contents
What materials do you need to propagate your philodendron?
The first step in propagating your philodendron is gathering the right materials. After all, you want the process to go as smoothly as possible, right?
So here’s what you’re going to need:
- Clean and sharp scissors;
- Filtered water;
- Glass containers (if you’re going for the water propagation method);
- Well-draining soil;
- Rooting hormone (optional).
Propagating your philodendron: Methods and steps required
The first step is to decide which propagation method you’re going to use. The easiest way to propagate your philodendron is by stem cuttings. However, there are other propagation methods like air layering (which is kind of fun to play with) and division.
» Stem cuttings
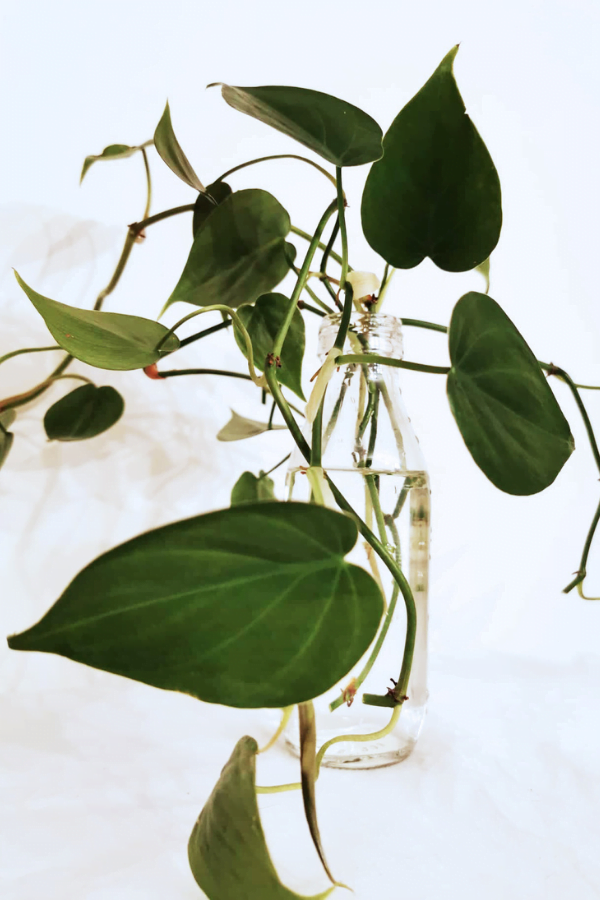
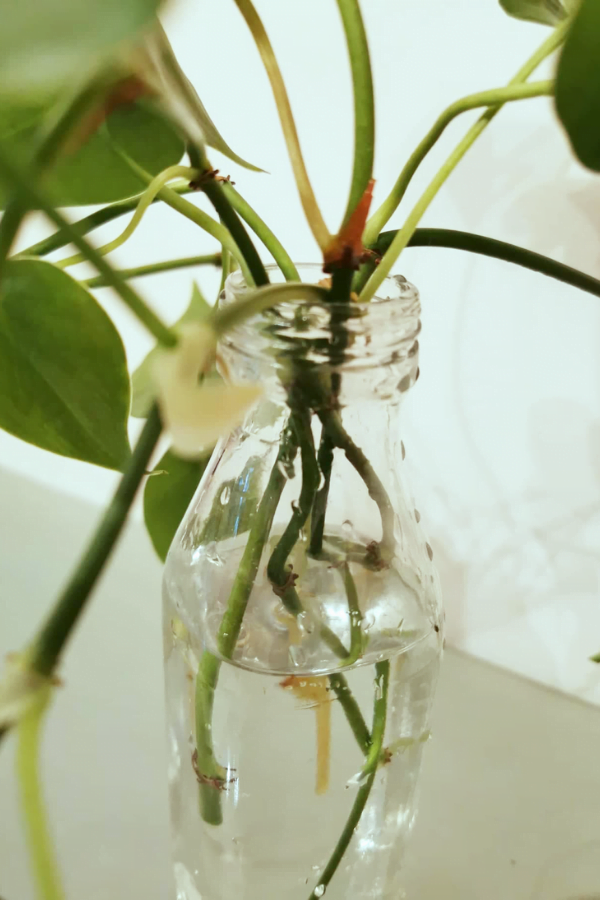
This is one of the most common propagation methods and works perfectly on most types of philodendron.
Step 1: Getting the cutting
Before cutting the stem, make sure it’s a healthy one and has a few leaves on it. You’ll have to cut it before the node because that’s the place the new roots will sprout from.
Step 2: Place it in a jar of water at room temperature
Once you’ve got the cutting, it’s time to place it in a jar of room temperature water. Make sure that at least one node is underwater. If the leaves are underwater too, gently remove them, but make sure your stem has at least 3 or 4 leaves left on it.
Step 3: Place the cutting in a spot with bright, indirect light
The next step is to place the cutting in a warm spot with bright, indirect light. You can change or add more water once per week or so, as it will get slimy or evaporate.
Step 4: Wait for the root system to develop
Within a few days, the new roots will start sprouting, but you’ll have to wait a few weeks until you can transplant the cutting to its new pot.
Pro tip: If your mother plant is large and lush, you can take multiple cutting and place them in the same jar, to root together. This way, when you move your cuttings to their new pot, you’ll get a full and aesthetically pleasing plant.
» Air layering
Air layering is a propagation method that doesn’t require cutting your plant. So if you’ve just got an expensive philodendron (Philodendron Hastatum, for example) and want to propagate it, this is the method you want to try. After all, you don’t want to take too many risks with them.
With air layering, you basically offer your plant an opportunity to grow roots from a node. All you need is some sphagnum moss and clingfilm.
Step 1: Choose the section you want to propagate
The first step here is to choose the node where you want to place your moss and clingfilm. You’ll need at least one node. If you can find a stem that has two nodes closer together, you can use that one, as it will increase the chances of successful rooting.
Step 2: Wrap the section in moist moss
Once you’ve found the perfect spot for air layering, it’s time to wrap it in moist moss by using your clingfilm. Make sure your moss is not too tight around the plant, loose will do. Then, spray it with a bit of water to create a thriving environment for your new roots to sprout.
Step 3: Wait for the root system to develop
It may take a while until the first roots appear, but don’t lose hope. In the meantime, make sure to regularly check on your moss to make sure it’s moist. If not, it’s better to give it a spray. Avoid keeping your moss soggy or too tight on the stem, as it can cause rot.
The rooting process can take anywhere from one week to a few months, but it’s definitely worth the wait.
Step 4: Cut the stem and plant it in potting medium
Once a healthy root system has developed, it’s time to cut the stem and move it to its new home. You’ll need a pair of clean, sharp scissors. Also, make sure not to cut it too close to the node.
» Division

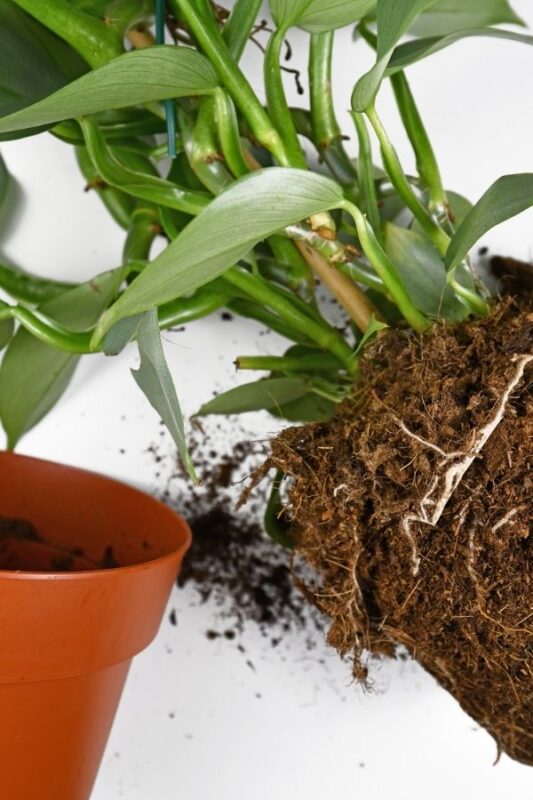
Division is another great way to propagate a bushy philodendron. Since this implies that the plant section you want to move has already a healthy root system, the only thing you have to worry about is transplant shock.
Step 1: Water your mother plant thoroughly
Before dividing your plant, it’s best to water it thoroughly. This will ameliorate the transplant shock and help loosen the soil, which is a great help for messy roots.
Step 2: Remove the mother plant from its pot and split it into sections
Once you’ve prepared your plant for division, the next step is to remove it from its pot and gently split it into sections. Depending on how mature is your plant, you can split it into sections of 2 or 3 shoots.
Step 3: Plant the resulted sections
After that, you can put the mother plant back in its pot and plant the shoots in their new container. Easy like that!
Potting your new philodendron plants
When your philodendron cutting has developed a healthy root system (3 – 4 inches long), it’s time to plant it in their new home. All you have to do is fill around ¾ of your pot with fresh soil, gently place your philodendron cutting on the soil, spread their roots, and add more soil to cover them.
Then, gently press down the soil to make sure your new plant is stable and add a bit more soil if needed. The next step is to water your plant and place it in a spot with bright, indirect lighting.
Conclusion
Compared to some houseplants, philodendrons are quite easy to propagate. If you don’t want to take too many risks with your plant, you can always opt for air layering. Or, if your plant is mature enough and has lots of shoots, division is the way to go. However, trimming back your plant is a great way to promote new growth or avoid the leggy aspect. So, whatever you choose, make sure to have fun with it!




No Comments